
Installing Exterior Siding: A Step-by-Step Guide
- TYRONE BLAKE

- Nov 7, 2025
- 3 min read
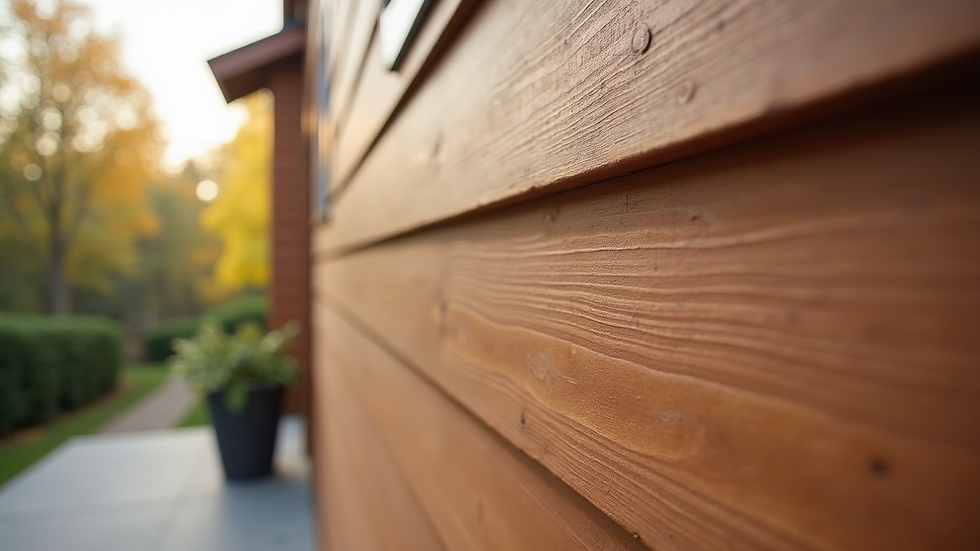
Installing exterior siding is a critical part of protecting and beautifying any building. It shields the structure from weather, improves energy efficiency, and enhances curb appeal. Whether you are upgrading your home or working on a commercial property, knowing the right steps ensures a durable and attractive finish. I will walk you through the process with clear, practical instructions.
Preparing for Exterior Siding Steps
Before starting, preparation is key. Begin by inspecting the existing exterior walls. Remove any old siding, nails, or debris. Check for damage such as rot, mold, or insect infestation. Repair or replace damaged sheathing or framing to create a solid base.
Next, measure the walls carefully. Calculate the amount of siding material needed, including extra for cuts and waste. Choose siding that suits your climate and style preferences. In the Pacific Northwest, materials that resist moisture and decay, like fiber cement or vinyl, work well.
Gather all necessary tools and materials:
Siding panels or boards
Nails or screws recommended by the manufacturer
Hammer or nail gun
Level and measuring tape
Utility knife or saw
House wrap or weather-resistant barrier
Caulk and sealant
Proper preparation saves time and prevents costly mistakes during installation.

Step-by-Step Exterior Siding Steps
Start by installing a weather-resistant barrier over the sheathing. This layer prevents moisture from penetrating the walls. Overlap seams and tape them securely. Pay special attention to corners and around windows and doors.
Next, install starter strips at the bottom of the wall. These provide a level base for the first row of siding. Use a level to ensure accuracy.
Begin attaching siding panels from the bottom up. Leave a small gap between panels and trim to allow for expansion and contraction. Nail or screw each panel according to the manufacturer’s instructions. Avoid overdriving fasteners, which can damage the siding.
Use a level frequently to keep siding straight. Cut panels to fit around windows, doors, and corners using a saw or utility knife. Seal all edges with caulk to prevent water infiltration.
For corners, install corner posts or trim pieces to cover panel edges and create a finished look. Continue siding installation row by row until the entire wall is covered.

Tips for a Professional Finish
Achieving a clean, professional finish requires attention to detail. Here are some tips:
Maintain consistent spacing between panels to avoid gaps or overlaps.
Use corrosion-resistant fasteners to prevent rust stains.
Check alignment often with a level or chalk line.
Seal all joints and edges thoroughly with high-quality caulk.
Trim excess material neatly for a polished appearance.
Follow manufacturer guidelines for siding type and installation methods.
These steps help ensure your siding lasts longer and looks better.
Safety and Maintenance Considerations
Safety is important during siding installation. Use ladders and scaffolding properly. Wear gloves and eye protection when cutting materials. Keep your work area clean to avoid accidents.
After installation, maintain your siding by cleaning it annually with mild detergent and water. Inspect for damage or loose panels regularly. Promptly repair any issues to extend the life of your siding.
Proper maintenance preserves the investment you made in your building’s exterior.
Why Choose Quality Siding Installation
Quality siding installation protects your building from the Pacific Northwest’s wet climate. It improves energy efficiency by reducing drafts and heat loss. It also boosts property value and curb appeal.
Choosing experienced professionals ensures the job is done right the first time. They understand local conditions and use the best materials and techniques. This results in siding that looks great and performs well for years.
If you want to learn more about how to install exterior siding, Jahson Construction offers expert guidance and services tailored to your needs.
Final Thoughts on Exterior Siding Steps
Installing exterior siding is a manageable project with the right approach. Preparation, careful installation, and ongoing maintenance are essential. Follow these exterior siding steps to protect your building and enhance its appearance.
Investing in quality siding and professional installation pays off in durability and beauty. Take your time, use the right tools, and don’t hesitate to seek expert help when needed. Your building will thank you with lasting protection and style.


Comments